How to plait hair with a simple three-strand method
If your plait keeps loosening or you are unsure which strand to cross, start with the basic three-strand method. Once that feels familiar, the same alternating movement can be adapted into French and Dutch braids.
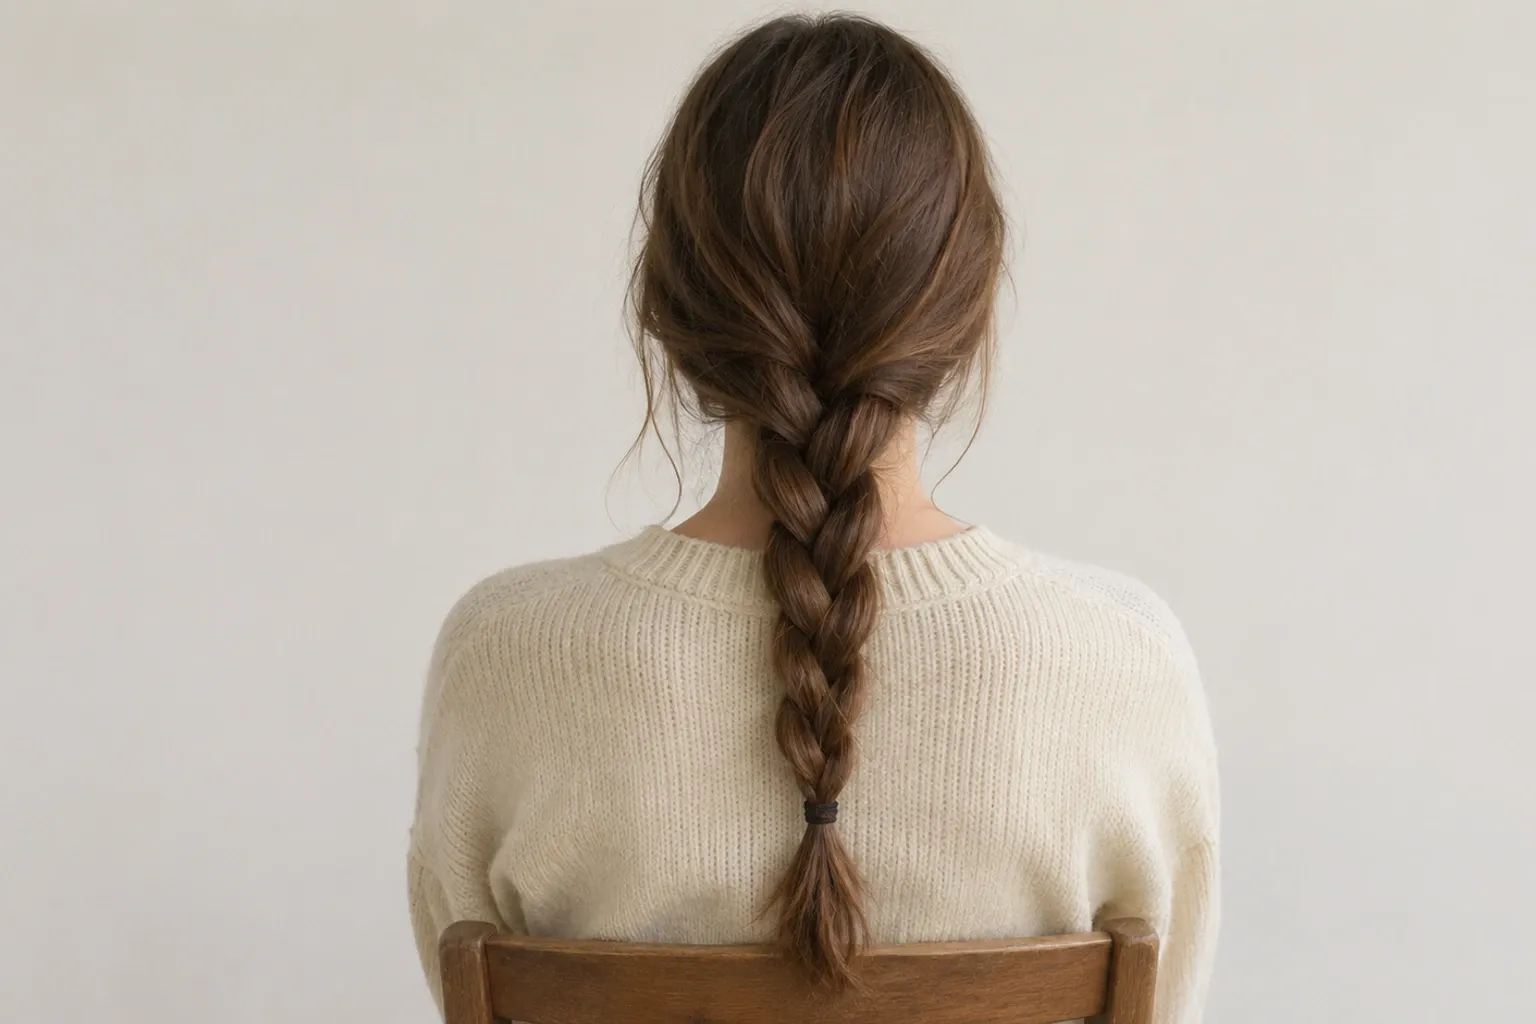
A neat plait depends less on speed than on keeping the sections separate and repeating the same crossing pattern. If you are doing your own hair, begin where you can see your hands clearly; if you are plaiting someone else’s hair, check that the position feels comfortable as you work. The steps below start with a simple plait, then show how to add hair for a French or Dutch version and how to check the result.
What do you need before you start?
For a basic plait, you need a comb or brush, a hair tie, and hair long enough for the sections to cross. A clip is useful if you are making a French or Dutch plait, because it can hold the hair you are not working with out of the way. Choose a tie that holds the ends without needing to be wound so tightly that it catches or pulls.
Detangle gently from the ends upwards, then decide where the plait will sit. A side plait is easier to watch in a mirror than one at the back of your head; a low plait can be a practical first attempt because you can bring the hair over one shoulder. Keep your usual washing and conditioning choices suited to your own hair rather than adding styling products just because a tutorial uses them. If you are refining the steps in a wider hair care routine, focus on what helps you manage your hair comfortably.
A formal hairdressing training standard gives useful, general criteria for the finish: pick up clean, even sections, work systematically with even tension, secure the end, and check comfort. Those principles appear in the Australian government’s hair braiding competency standard and are practical checks whether you are styling your own hair or someone else’s.
How do you make a basic three-strand plait?
A three-strand plait is the simplest place to learn the hand movement. Divide the hair into three sections of roughly equal thickness. Hold the left section in your left hand and the right section in your right hand, with the middle section between them. The key is to move one outside section across the centre, then repeat from the other side.
- Cross the right section over the middle. The right section now becomes the middle one.
- Cross the left section over the new middle. The left section now takes the central position.
- Repeat, alternating right over centre and left over centre, while keeping the three sections separate.
- When you reach the ends, secure the plait with a hair tie.
Think of the movement as “outside over centre, then the other outside over centre”. Do not worry if the first few crossings look loose; stop and reset if you lose track of which section is which. Keep your fingers close to the working point, but do not pull hard against the scalp. If you are practising on your own hair, a mirror can help at first, though looking down at the sections may make it easier to learn the sequence.
A simple three-strand plait hangs from where you start it. To create a plait that follows the head, you add small amounts of loose hair as you work. The crossing direction determines whether that raised, attached style is French or Dutch.
What is the difference between French and Dutch plaits?
Both styles begin with three sections near the hairline and incorporate additional hair as the plait moves down the head. The visible difference comes from the crossing pattern. In a French plait, the outside sections cross over the centre; in a Dutch plait, they cross under it. L’Oréal Paris describes the French method as adding hair at each stitch, while its Dutch-braid tutorial explains the under-centre movement and how it makes the plait sit more prominently.
For a French plait, begin with three sections at the top of the head. Cross the right over the centre, then the left over the new centre. Before each following cross, gather a small amount of loose hair from the same side and add it to that outside section. Cross the combined section over the centre, then repeat on the other side. Keep gathering and crossing in turn until you have incorporated the hair you want. When there is no more loose hair to add, finish with the regular three-strand method and tie the ends.
For a Dutch plait, use the same preparation and add hair in the same alternating way, but cross each outside section under the centre instead of over it. Keep the direction consistent on both sides. The result has a more raised appearance than a French plait; the step-by-step explanation from Hair.com by L’Oréal uses the under-crossing method and shows how to add hair evenly as you go.
If you are unsure which style you are making, check one crossing at a time: over the middle is French; under the middle is Dutch. Both can be worked as one plait down the back or adapted into two plaits by making a centre part and working on each side separately. The basic hand sequence stays the same, so practise the plain plait first if the added sections feel difficult to control.
How can you make the plait suit your hair?
The size of each section affects the look and handling of the plait. Smaller, similar-sized additions tend to make the pattern easier to follow; larger additions cover more hair with each move but can make the braid feel uneven if the sides are not balanced. You do not need to measure them. Use your fingers to pick up a manageable amount, then aim for a similar amount on the opposite side.
Hair that slips through your fingers can make it harder to keep sections distinct. A comb helps with parting and detangling, while clips can hold sections aside. Hair.com’s tutorial notes that clean or very fine hair may be more slippery to handle, but its product suggestions are commercial advice rather than a requirement. You can try the technique without buying a styling product; if you do use one, follow its label and use only what suits your hair.
Hair length and layers also affect the finish. If shorter layers escape, make a smaller plait from a section that has enough length to cross, or stop adding hair before those layers become difficult to control. For a style idea that takes hair length into account, see these long hairstyle options for men. The plaiting method itself does not depend on hair colour, so a change in shade does not require a different crossing pattern.
How do you check the finished plait?
Look at the plait from the front and sides if you can, and check that its direction is consistent. A French plait should lie closer to the head; a Dutch one should sit more raised. If the pattern switches partway down, the crossing direction may have changed. You can undo a few crossings and restart from the point where the sequence changed rather than pulling at the whole plait.
Check that the width looks reasonably even and that the end is secured. If you want a softer, wider appearance, gently loosen a few outer loops with your fingertips, working gradually so the plait does not come undone. TRESemmé’s French-braid instructions also advise securing the style while avoiding a tie that is so tight it causes discomfort; its tutorial is a brand’s styling guidance, not a rule that you need its products.
Most importantly, check how the style feels. A plait should not need painful pulling to stay in place. If the scalp feels uncomfortable, loosen or remove it and try again with less tension. For someone else’s hair, ask during the process whether the tension is comfortable, then make any adjustments before securing the ends.
Frequently asked questions
Is a plait the same as a braid?
In everyday British English, “plait” is the common word for this hairstyle; “braid” is widely used in American English and also appears in hairdressing terminology. Both describe strands woven together. The instructions here use “plait” for the finished style and “section” for each part of hair you hold and cross.
Can you plait short hair?
It depends on whether the hair is long enough to cross and hold securely. A small section near the hairline may work even when the rest is too short for a full hanging plait. Keep the sections small, avoid pulling them tight, and use a clip to keep nearby hair out of the way. Very short layers may slip free.
How do you keep a plait from looking uneven?
Start with three sections that are similar in thickness, keep each one separate, and use the same crossing order throughout. Check the plait as you go rather than waiting until the end: if one side looks wider, adjust the next section you pick up. A slightly loose finish is easier to correct than a braid pulled very tight.
Should hair be wet or dry before plaiting?
You can plait hair when it is dry or damp, but the feel and finish may differ with your hair and the style. Detangle first and avoid working with hair that is so wet it is difficult to separate or hold. Try the technique on dry hair first if you are learning, so you can see how the sections move.
Related reading